MCP Server Setup Instructions
Step-by-step instructions for connecting Claude, Gemini CLI, and other MCP clients to the Validio MCP Server using OAuth authentication and Streamable HTTP transport.
Connect to our MCP server natively in Claude, Gemini CLI, and various other MCP clients. Validio's MCP server supports HTTP-based transport (Streamable HTTP) with OAuth authentication and dynamic client registration.
The Validio MCP server will inherit the permissions and access of the user account you use to connect to it.
The Validio MCP server provides tools for managing resources, such as sources, validators, and incidents. Read more about key benefits in Validio MCP Server. For detailed examples and use cases, see MCP Server User Guide.
Prerequisites for Setting up the Validio MCP Server
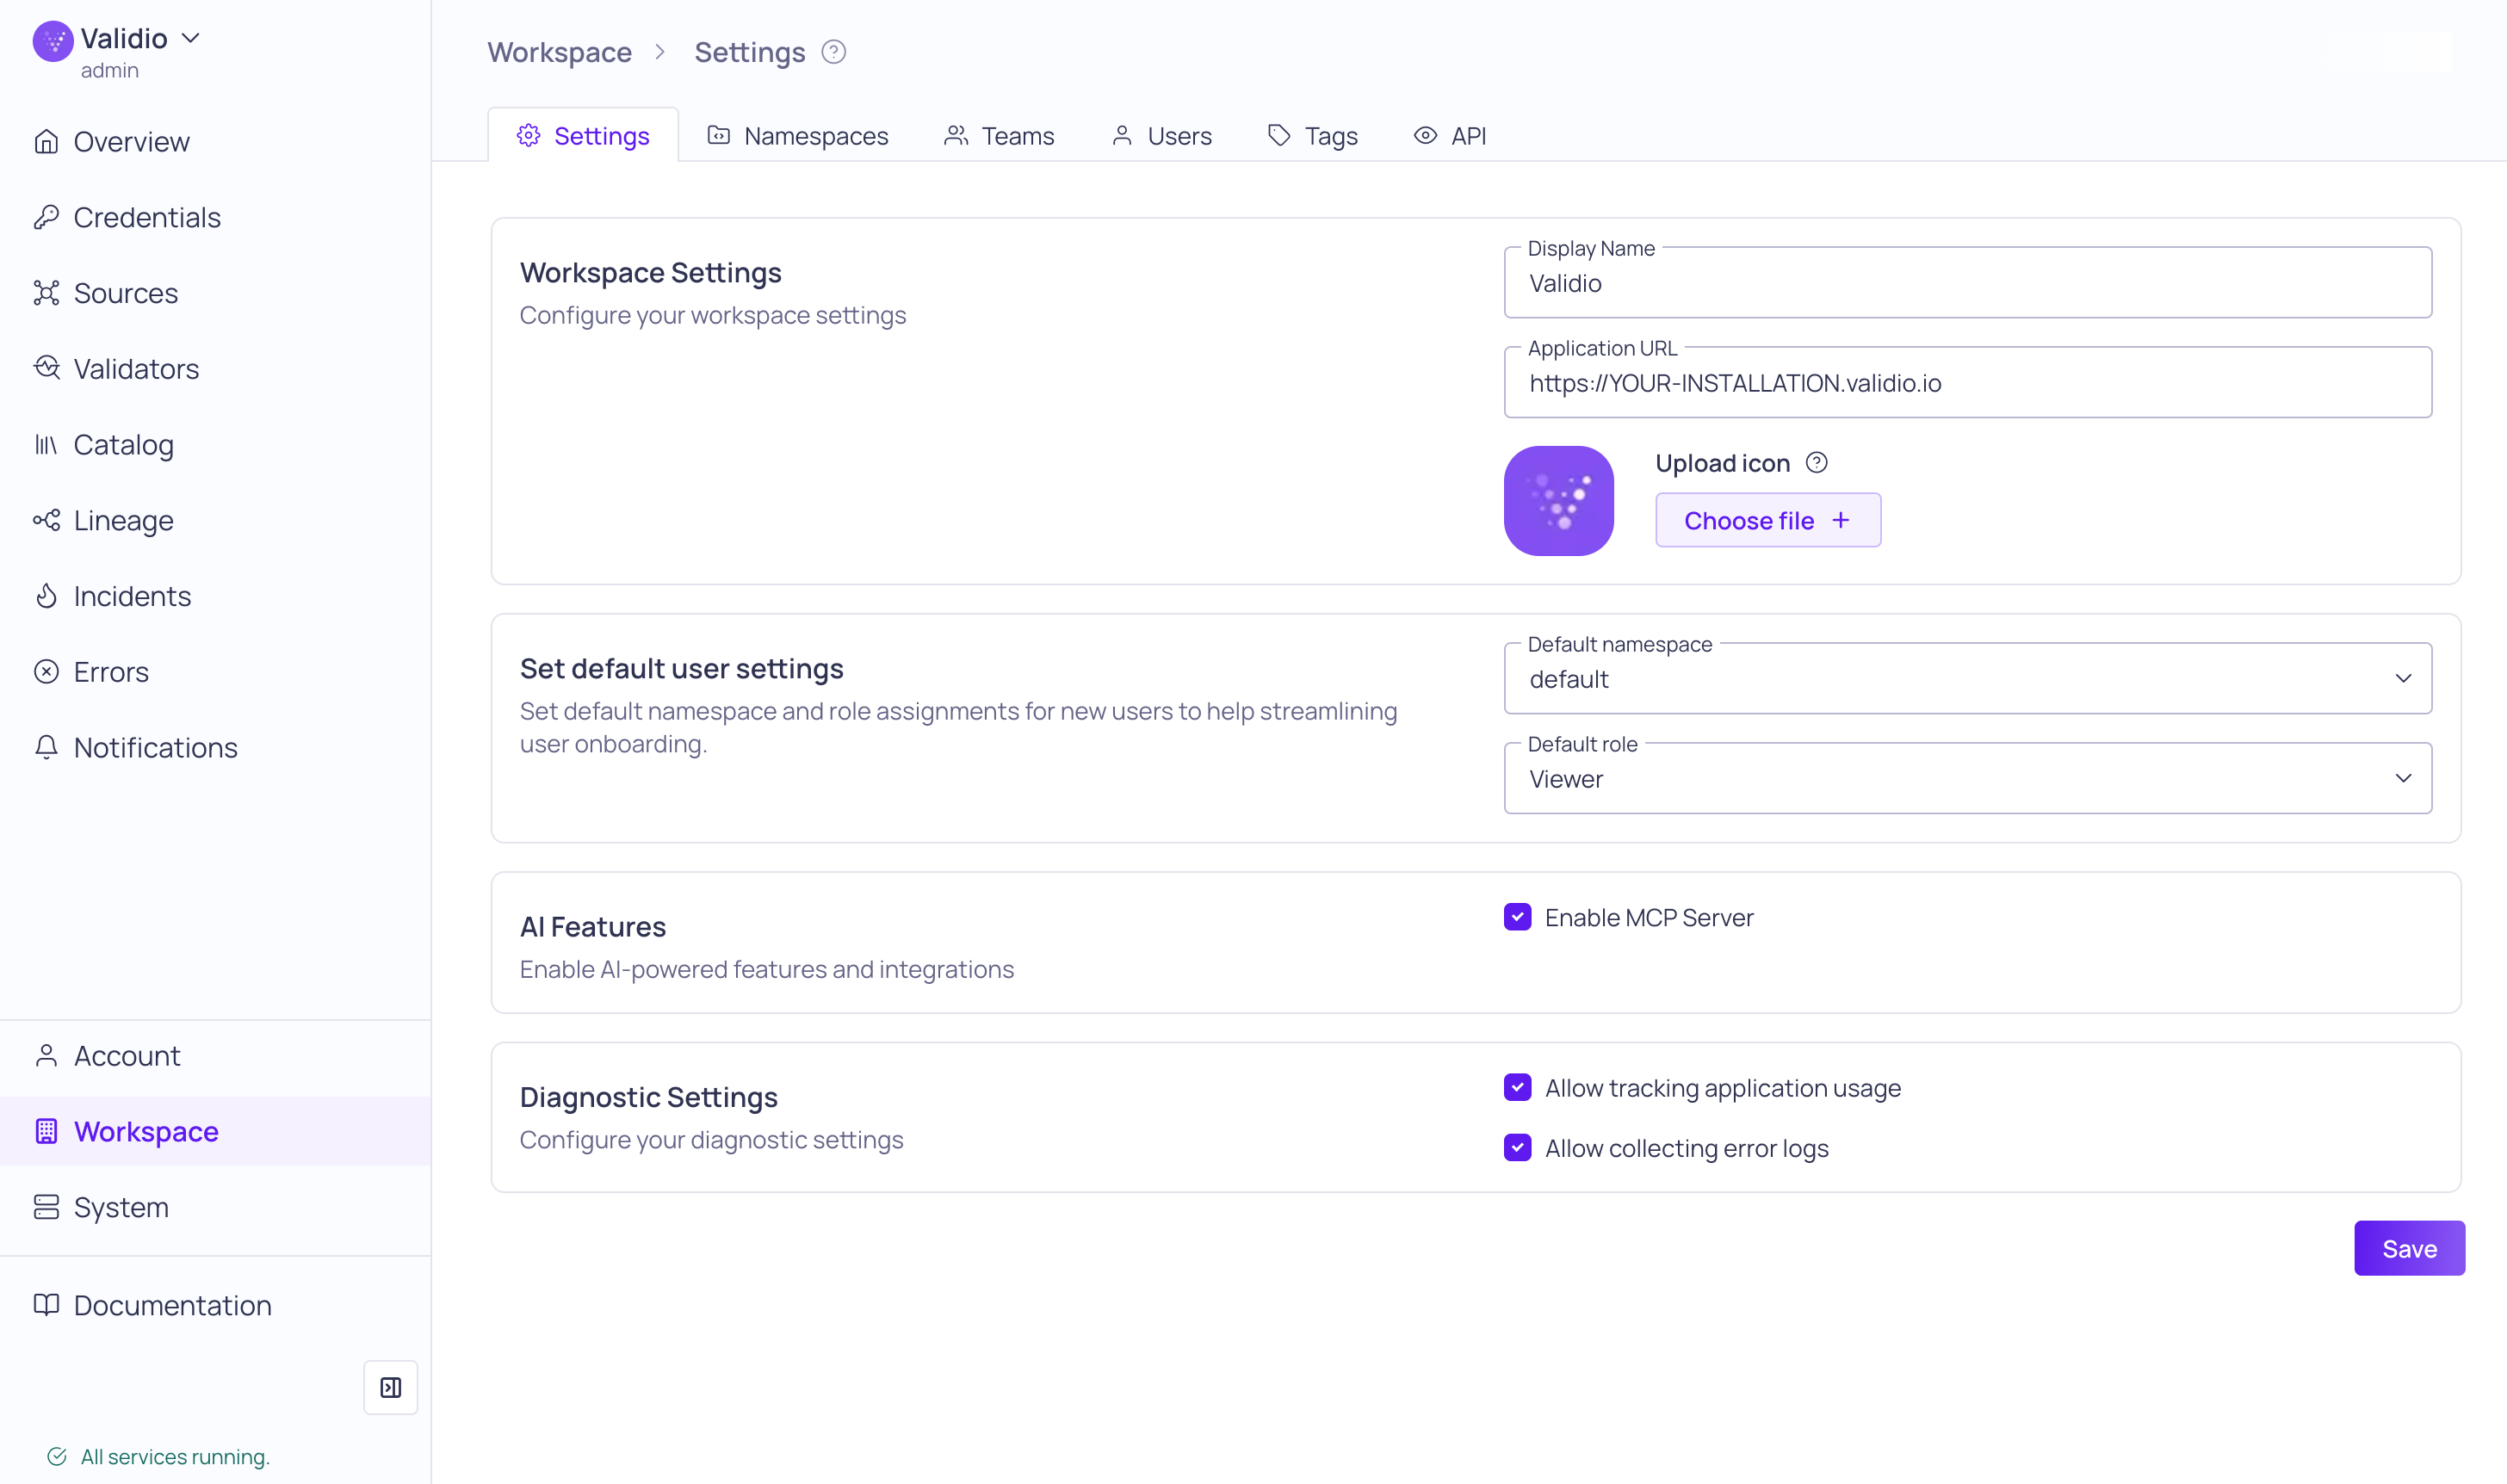
In your Validio Workspace Settings,
- Configure the Application URL. The Application URL is the URL to your Validio installation, for example:
https://YOUR-INSTALLATION.validio.io. - Under AI Features, check Enable MCP Server.
Claude
Claude.ai and Claude Desktop
On web or desktop,
- Navigate to Admin Settings > Connectors.
- Click Add custom connector and in the dialog:
- Name: Give the connector a name.
- Remote MCP server URL: Enter your Validio MCP server URL, which will have the format
https://YOUR-INSTALLATION.validio.io/mcp. - Click Add.
- In Settings > Connectors,
- Connect to the Validio MCP server.
- When prompted, log in to Validio with your user account and password.
- In a new Claude chat, open the Search and tools menu and enable the new connector.
Claude Code
In the CLI,
- Run
claude mcp add validio -t http https://YOUR-INSTALLATION.validio.io/mcp - Open a Claude Code session,
- Run
/mcpto list all MCP servers. - Select the Validio MCP server and go through the authentication flow.
- Run
Gemini CLI
In the CLI,
- Run
gemini mcp add --transport http validio https://YOUR-INSTALLATION.validio.io/mcp - Start Gemini,
- Run
/mcpto list all MCP servers. - Authenticate the Validio MCP server:
/mcp auth validio
- Run
Updated 5 months ago