Monitoring and Validation
Set up monitoring and validation on a data warehouse source by adding a credential, creating a source, and configuring a validator.
This is the first part of the tutorial. It shows you how to quickly set up monitoring and validation on a data warehouse source: create a credential to connect to the warehouse, specify the data source, and add a validator to track a metric on the source. Make sure you have completed the tutorial prerequisites before you start.
This tutorial follows a Google BigQuery table that summarizes sales data, with hourly summaries of sales by product and customer demographics, including total sales amount, quantity, and average discount. You can follow along with a similar table of your own — the steps are the same for any supported source.
The tutorial steps are specific to Google BigQuery, but the setup flow is the same for all source types. You should be able to complete these steps to monitor and validate data from any supported data warehouse that you can access.
Add a Data Warehouse Credential
The first step to monitoring is adding a credential to connect Validio to the source.
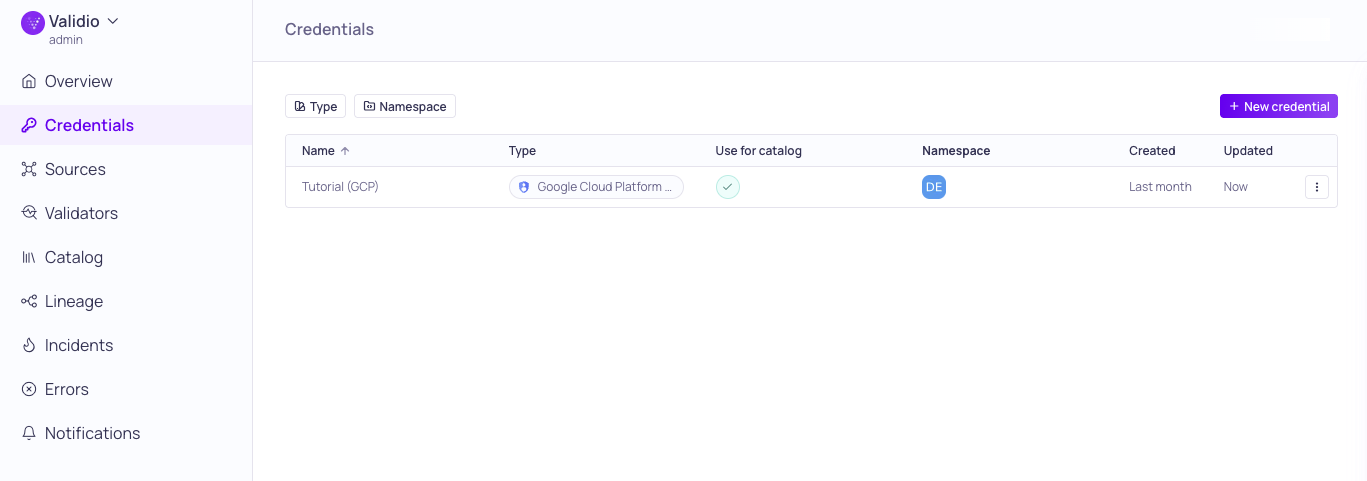
Credentials page with GCP credential, Tutorial (GCP)
Since the Tutorial data is in a Google BigQuery warehouse, you need to add a credential for Google Cloud Platform (GCP). The GCP credential connects Validio to a service account that provides access to the relevant source tables in the warehouse.
If you have data in another warehouse, you can refer to our integration guides for supported warehouse sources to find instructions for adding the relevant credential. See Data Warehouse Sources in our product documentation.
To add a Google Cloud Platform (GCP) credential:
- Navigate to Credentials and click + New credential.
- Select the Namespace where the resource will be created.
- For Credential type, select Google Cloud Platform (GCP).
- Under Configuration,
- Enter a unique Name for the credential.
- Paste or upload the contents of a Service account JSON-file that provides the appropriate roles and permissions to access the relevant tables in the warehouse.
- (Recommended) Click Test credential to verify the connection to the GCP service account. If the test fails, check your configuration settings.
- (Required for this tutorial) Check Use for catalog and schema checks to discover assets from the credential and add the assets to the Catalog page.
- Click Create credential.
After the credential is created, Validio connects to the service account and collects information, such as metadata and lineage, to populate the Catalog page. You can navigate to the Catalog page to view all the discovered assets associated with the credential.
For more information about credential types and best practices, see About Credentials in our product documentation.
Convert a Catalog Asset into a Source
Although you can view Catalog information about the assets discovered on the credential, Validio does not read data or poll for updates from the assets. To start monitoring data, you need to add a data source, which you can quickly do by converting a catalog asset into a source.
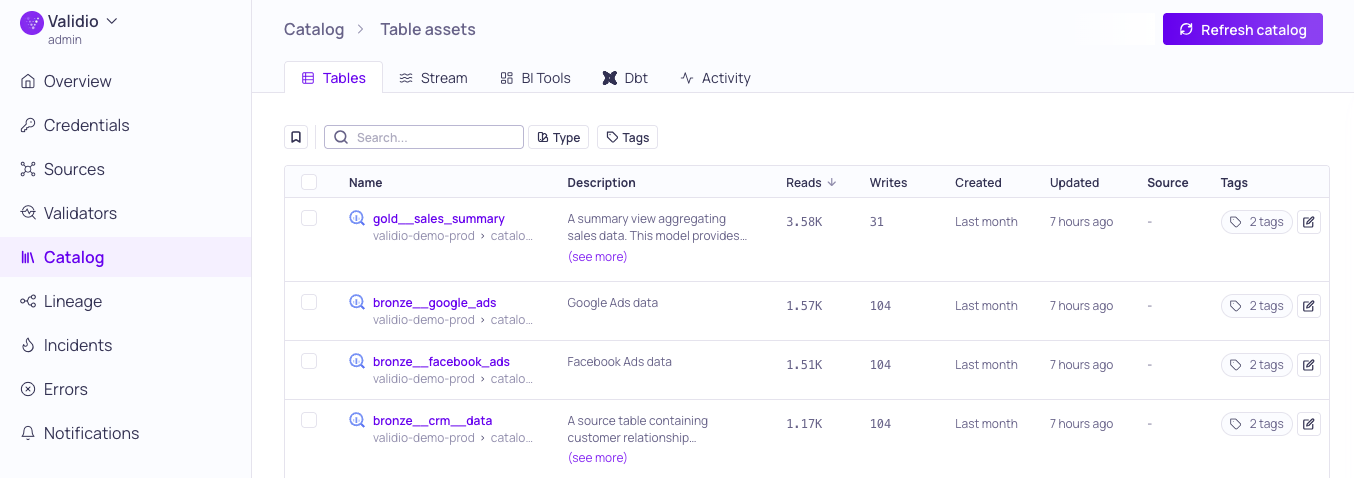
Catalog page showing Tables discovered on the Tutorial (GCP) credential.
The data used in this tutorial consists of tables for simulated sales and customer data. For this part of the tutorial, you will select one table asset, gold__sales_summary, and convert it into a source:
-
Navigate to Catalog > Table assets to view a list of all assets discovered from this credential.
-
Search for and click gold__sales_summary to open its details page.
-
Click Convert to source to open the "Convert catalog assets to source" configuration.
-
Configure the Catalog asset:
- Credential - Select the tutorial credential you created to associate with the asset when converting to a source.
- Polling schedule - Use cron expression to specify how frequently to check for changes on the source.
- Review the configuration summary, and click Continue.
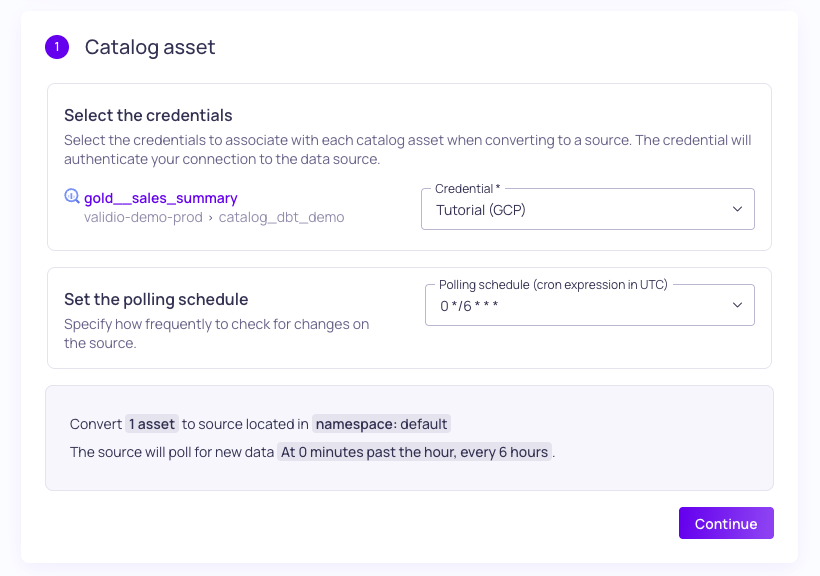
Catalog asset to source configuration
- Under "Validators", you have the option to add metadata validators to the source. Click Continue to skip this step.
- Click Create source to finish the configuration.
You can click View source to open its details page where information about the source and its configuration is organized into tabs. Even though the source is created, monitoring does not happen until you Start the source. Before you start the source, you will add a Validator to define a metric to track and validate data.
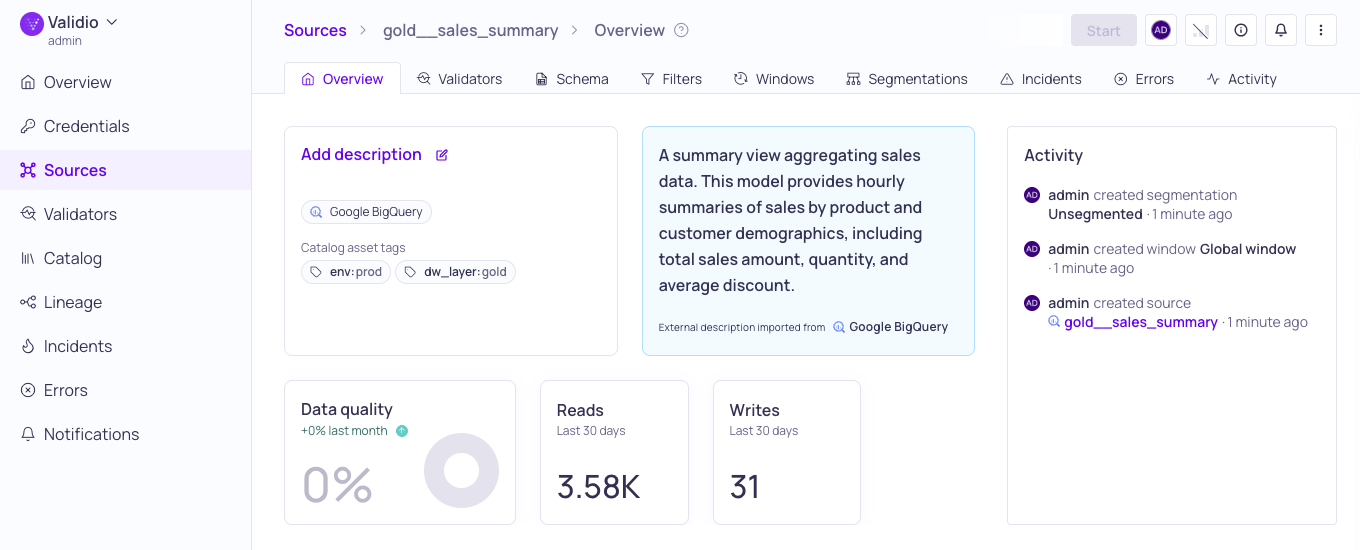
gold__sales_summary Overview tab
For more information, see About Data Catalog and Catalog Assets in our product documentation.
If the data source you want to add is not in the Catalog, you can also directly add sources using the Sources page. For more information, see About Sources in our product documentation.
Add Validation to the Source
Now that you have a source, you will configure a Numeric Statistics validator to track the mean of the total sales amount field. For time-series data like this, tracking the daily Mean over a tumbling window with a dynamic threshold lets Validio learn the normal pattern and flag days where sales deviate — without you having to set fixed limits by hand.
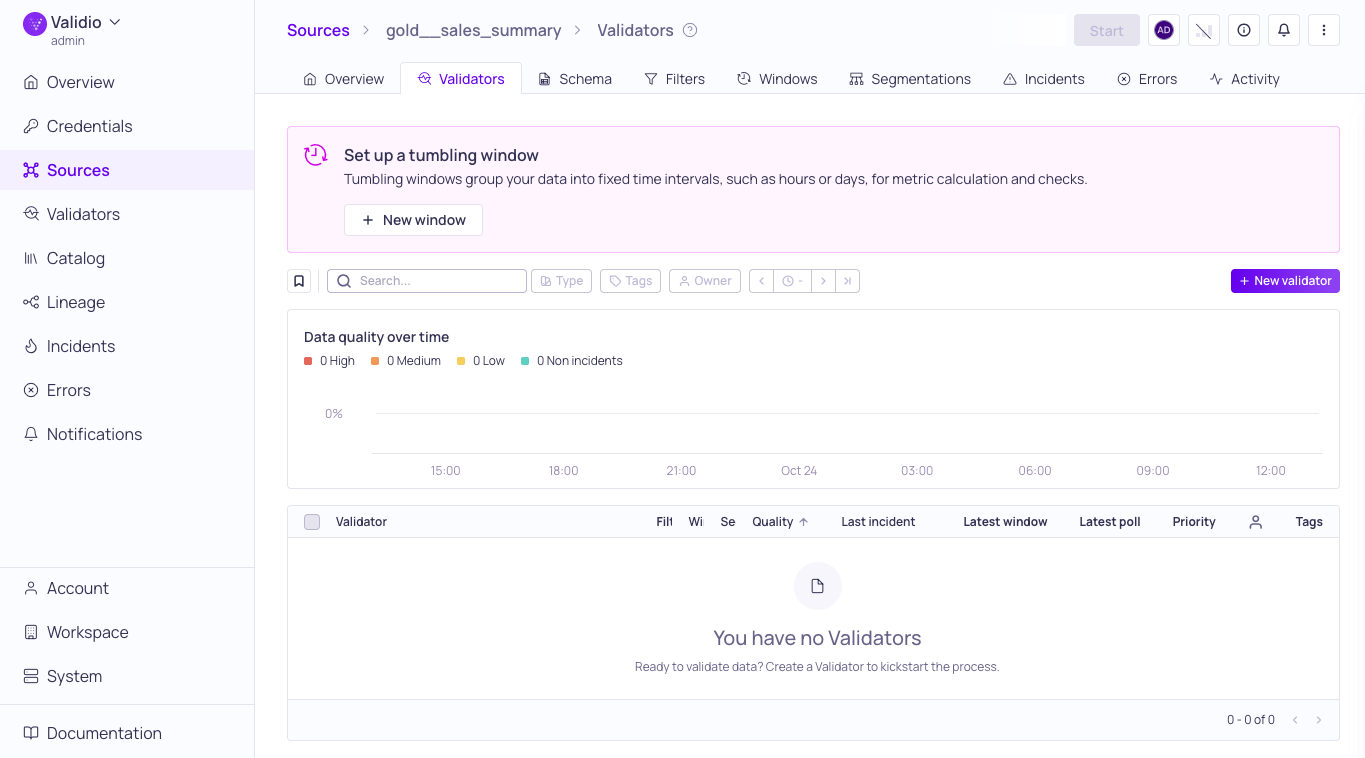
Source Validators tab, no validators and not started
To add a Numeric Statistics validator,
- Navigate to Sources > gold__sales_summary and click + New validator.
- Under Validator Type, select Metrics & Validity > Numeric Statistics.
- Under Metric,
-
Configure the metric to calculate the Mean using the field total_sales_amount.
-
Select or create a Tumbling window, to aggregate the calculation over daily non-overlapping time intervals, Every 1 day on "timestamp" with "No slide config".
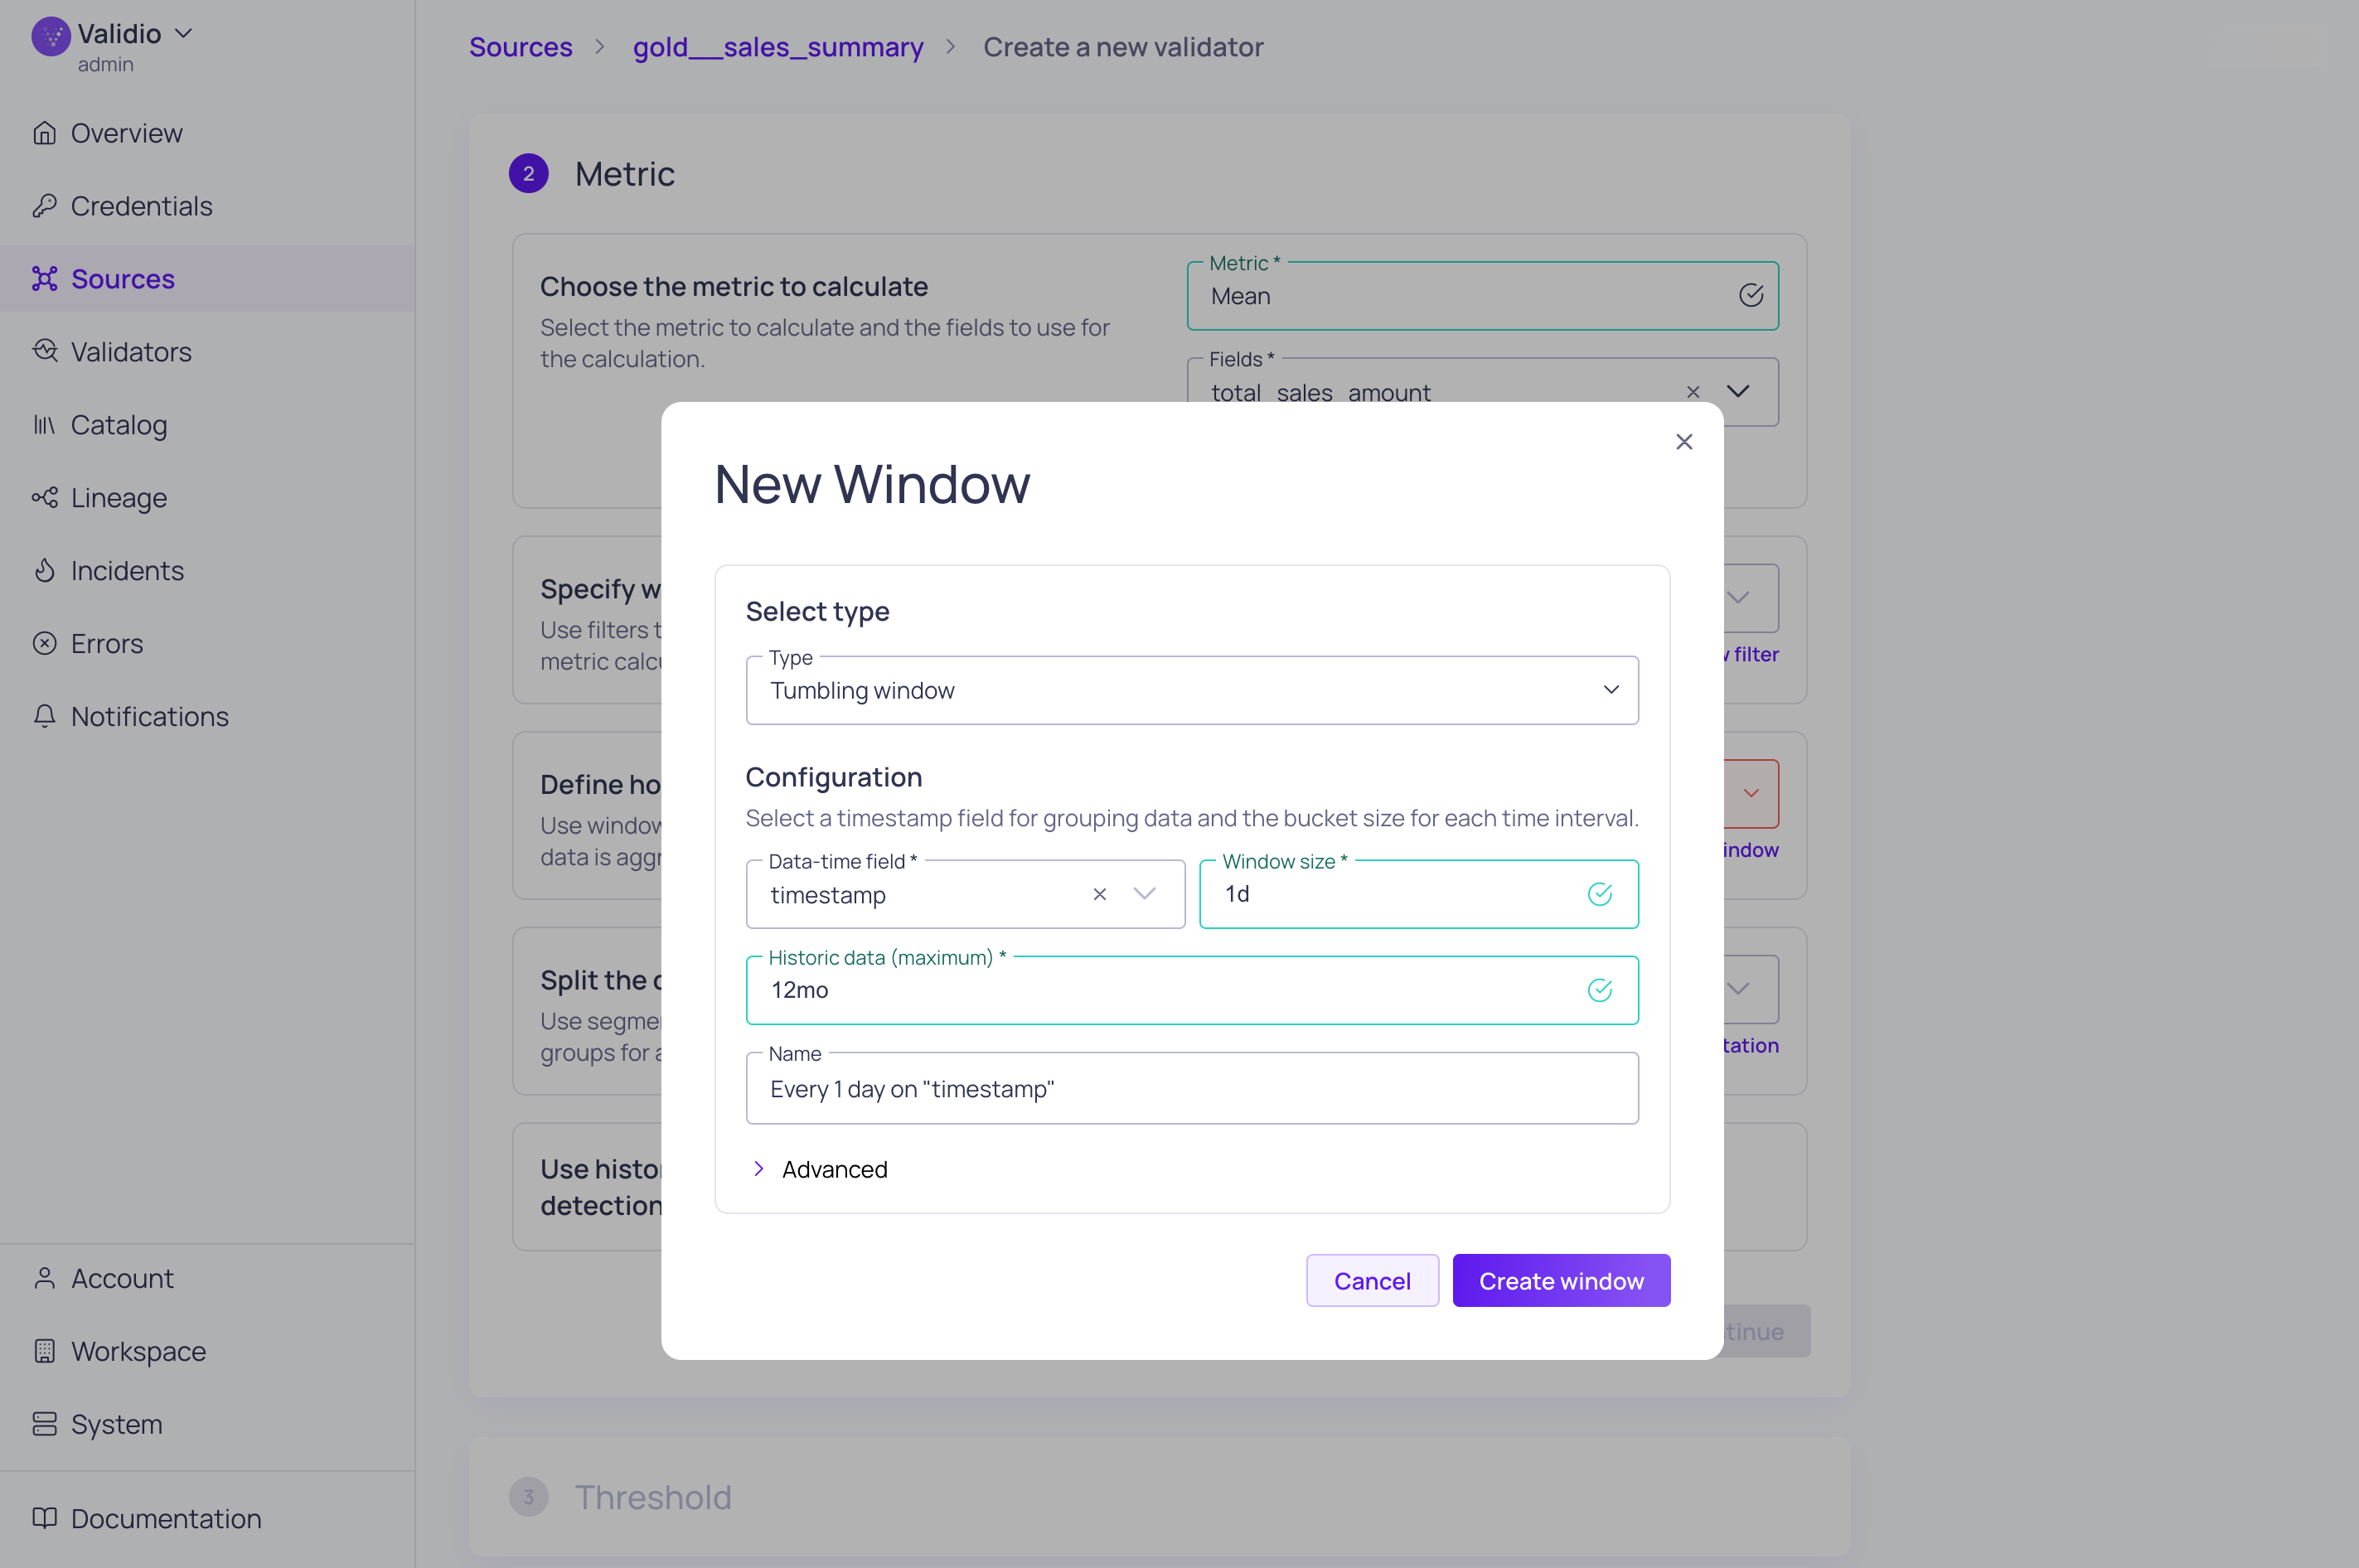
New Tumbling window configuration
Because gold__sales_summary is a data warehouse source with time-series data, we recommend using a tumbling window to group the data for validation. Global windows, which are automatically created when you add a source, are better suited for dimensional tables. For more information about configuring windows, see About Windows in our product documentation.
-
Check "Initialize with historic data". The amount of historic data is configured with the tumbling window.
-
- Under Threshold, configure a Dynamic Threshold to trigger an alert when the calculated metric is outside of the
Upper and lowerDecision Bounds using a Sensitivity of2and aslowAdaption Rate.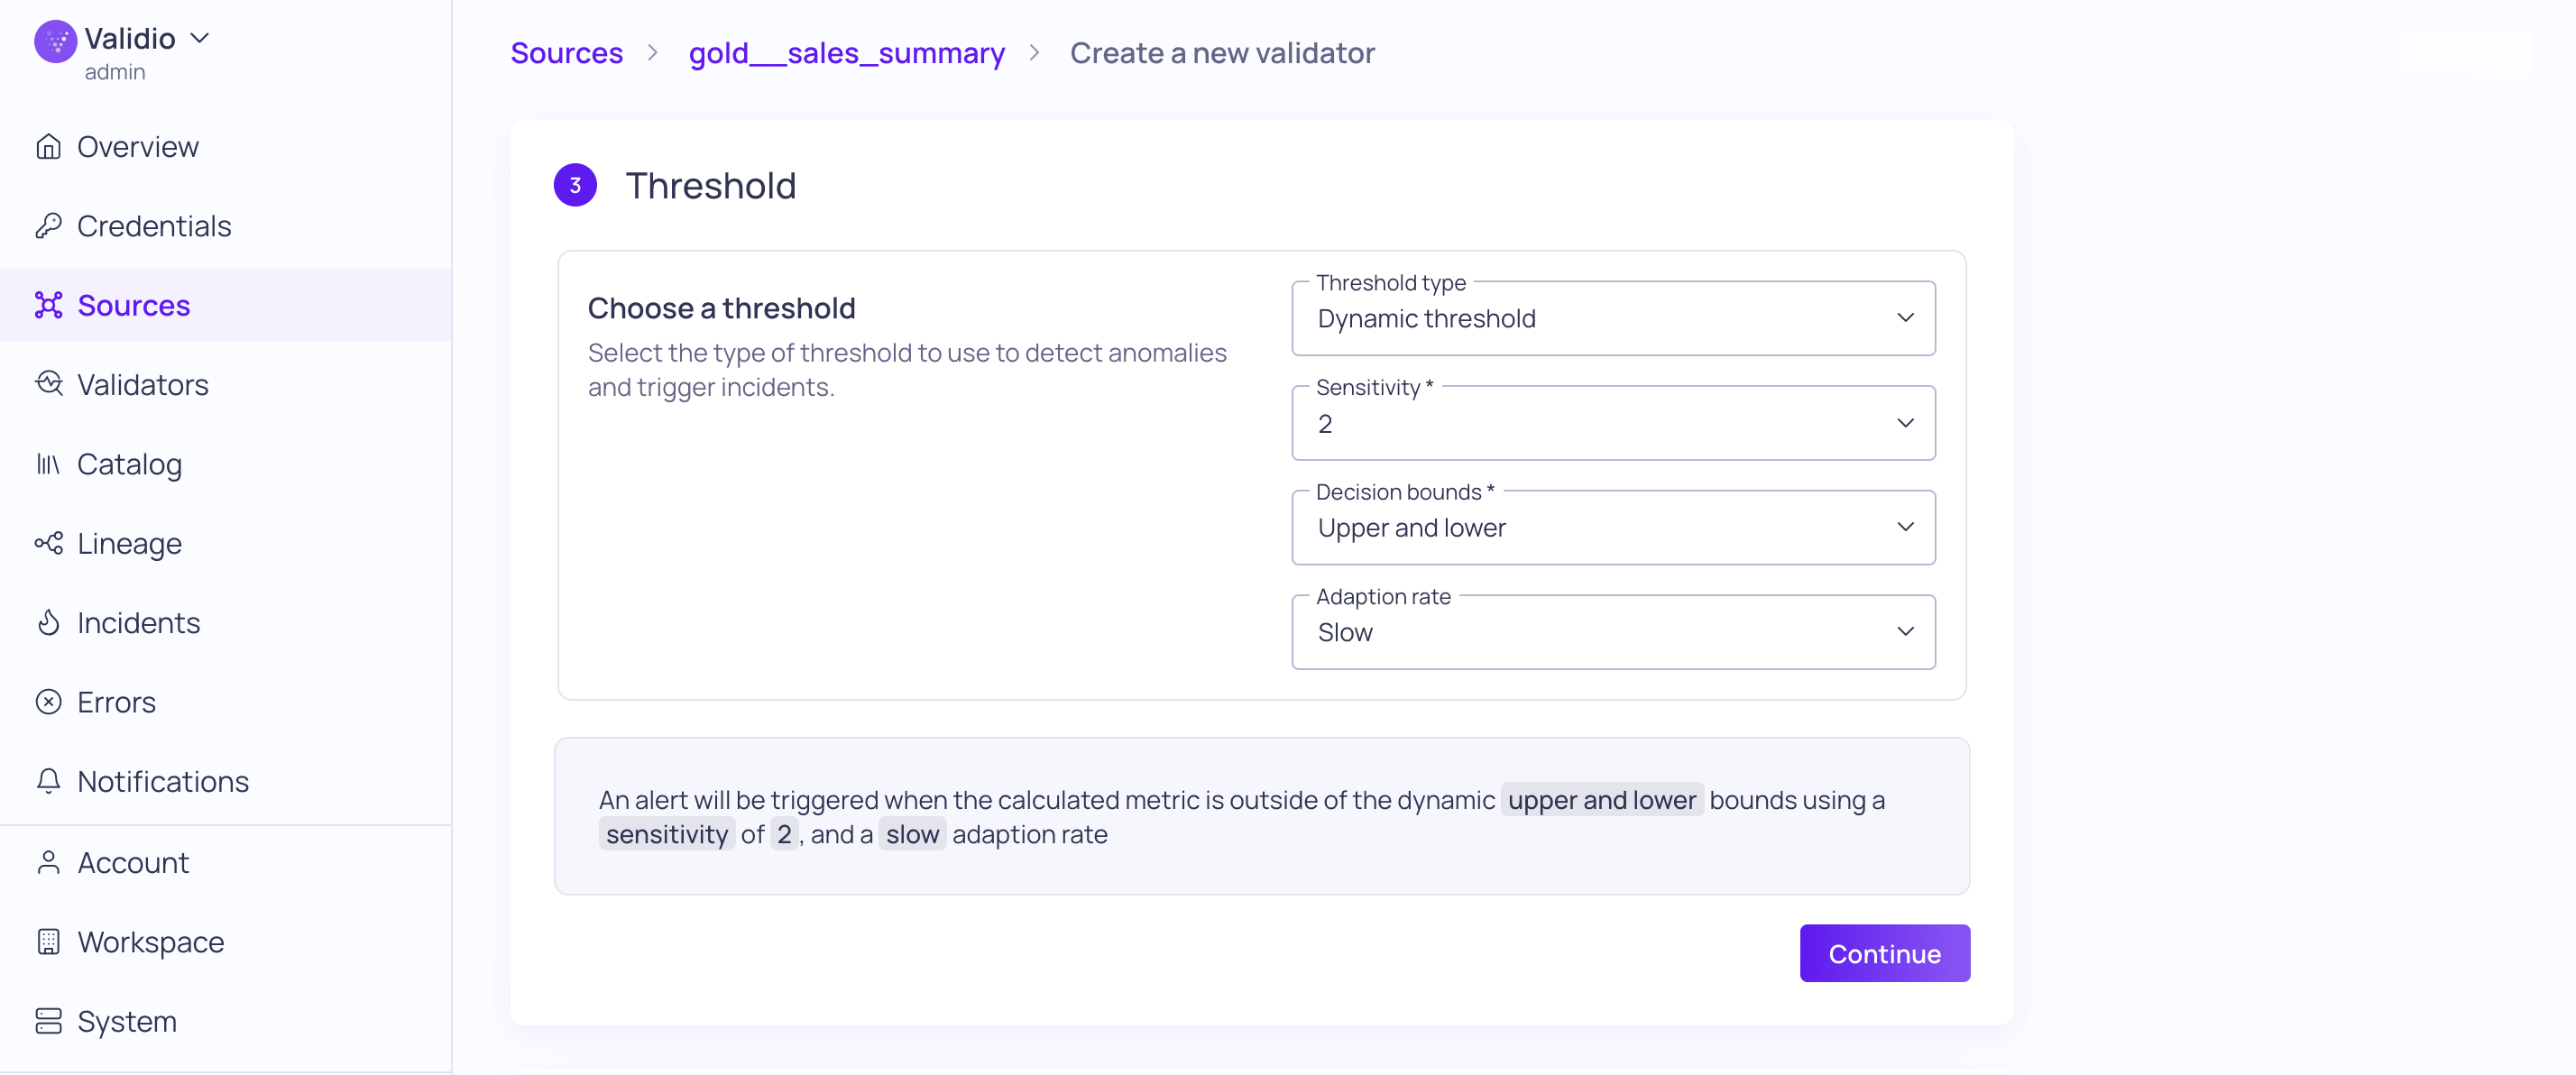
Dynamic threshold configuration
- Under Validator details, update the Priority to Critical. This priority will be inherited by any incidents detected by this validator.
- Click Continue to create the Mean of "total sales amount" validator.
This is just an example of one validator configuration. You can configure many validators on a single source, for different use cases such as tracking pipeline health, data consistency, completeness, and more.
For more information about validator types and calculated metrics, see Validator Types and Configuring a Validator in our product documentation.
Start the Source
Navigate to the Validators tab for the source you created, for example: Sources > gold__sales_summary > Validators, and Start the source. It should take a few minutes for the backfill (historic data) to populate the graph.
On the Validators tab, select the validator you created, for example: Mean of "total_sales_amount", to open its details page. On the Metrics tab, you can review the validator's calculated Data Quality over time, the daily values of the calculated metric, and the detected incidents. Once the backfill completes, you should see the daily metric plotted against the dynamic threshold's shaded bounds, with any out-of-bounds points marked as incidents.
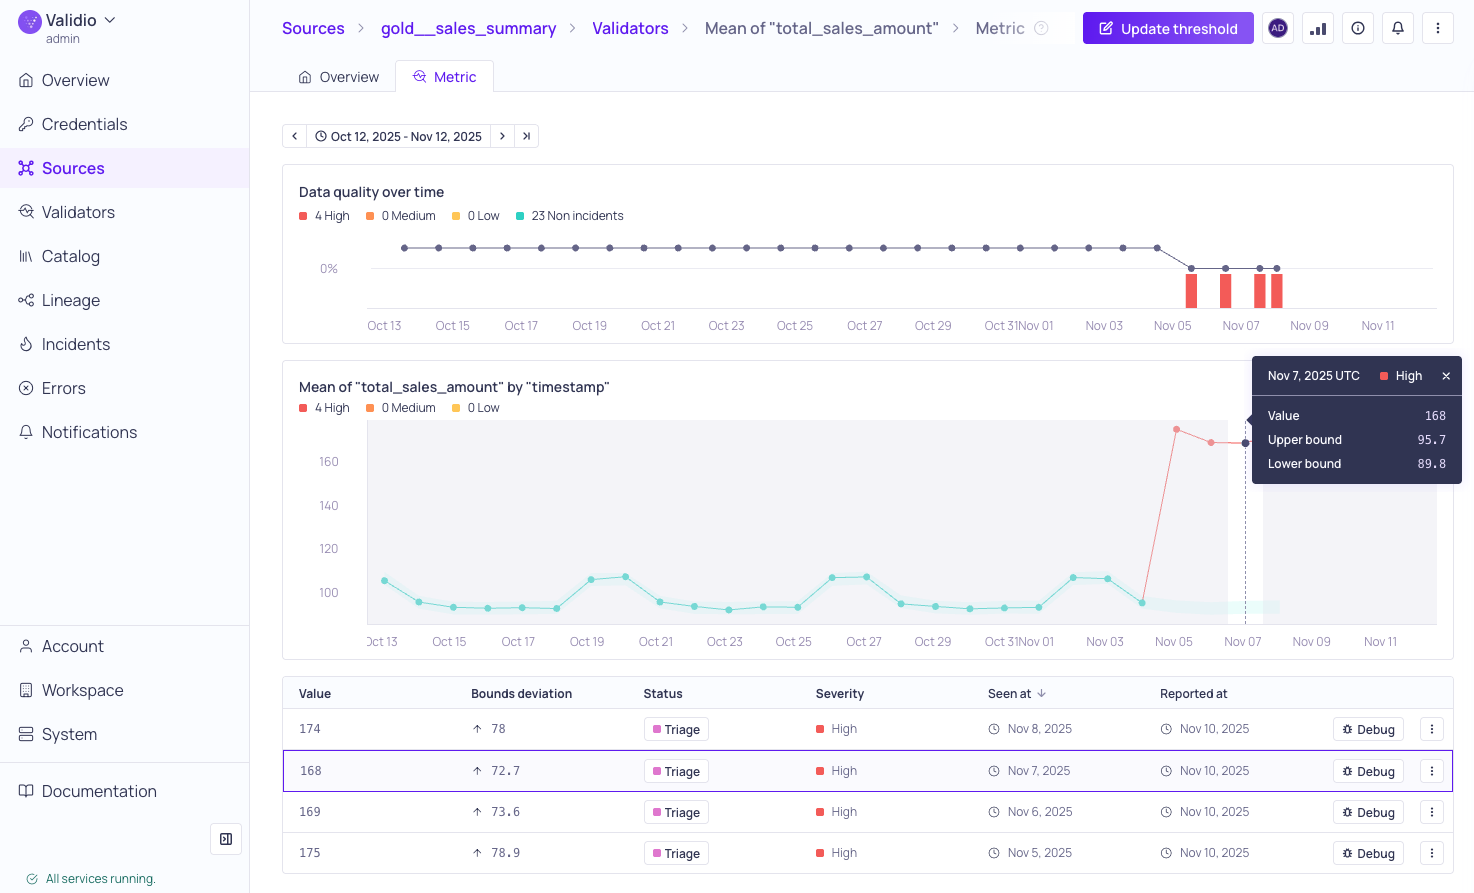
Metric details for Mean of "total_sales_amount" validator
A vertical dashed line on the graph marks where the dynamic threshold model retrained or recalibrated — for example after a shift in the data pattern — so you can see when and why the bounds changed.
For more information, see Validator Details Page.
Next Steps
This guide showed you how to set up monitoring and validation on a data source. In the next part of the tutorial, you will triage, investigate, and troubleshoot critical incidents using Root Cause Analysis.
Updated 22 days ago